Starting Cascade
To start Cascade, locate Cascade on your computer and double click the application icon. The application opens up to Cascade's Home screen.

|
WELCOME CLONING PRODUCTS |
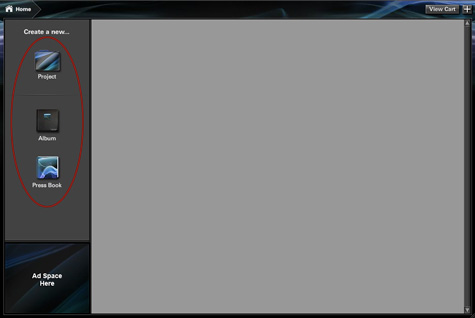
GETTING STARTEDStarting CascadeTo start Cascade, locate Cascade on your computer and double click the application icon. The application opens up to Cascade's Home screen. Navigating the Home ScreenThe Home screen is where you can create new projects, create new products, and access existing work. Projects are folders that organize albums and press books for specific clients or events in one location. Products are the items that you are creating - either an album or a press book. Notice the icons on the left of the Home screen labeled Project, Album, or Press Book. You will use these icons to create new projects and products.
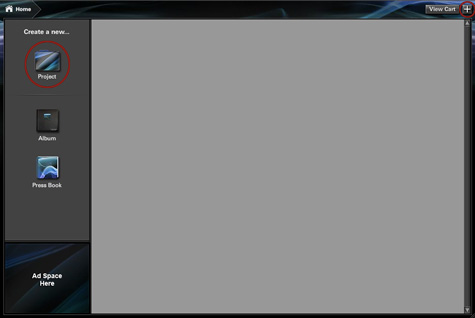
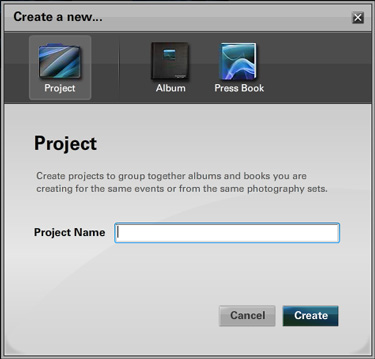
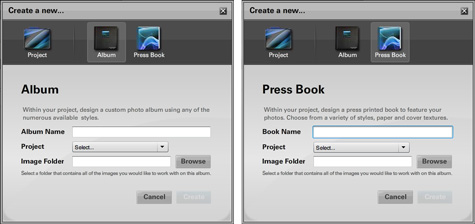
Creating a New ProjectCascade uses project folders to organize albums and press books for specific clients or events in one spot. In order to create a new album or press book, Cascade requires that you first create a project folder so you can place and organize your product(s) in one location. To create a new project:
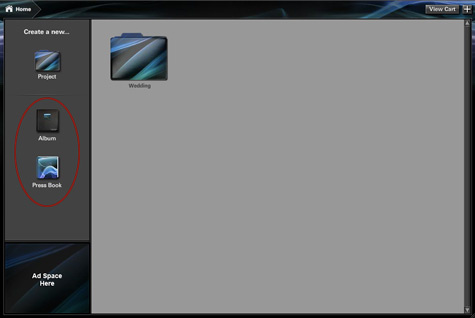
Album vs. Press BookBefore you add a new product, you will need to decide whether you want to create an album or a press book. There is a distinct difference in the printing process of an album and a press book that may be important to your decision-making process: Albums are photo printed on photo paper while press books are CMYK printed on press paper. Once you decide whether you would like an album or a press book, proceed to Adding a New Product.
Returning to The Home ScreenOnce you leave the Home screen, you can return to it at any time from the Configuration Options panel or the Designer screen. From the Configuration Options Panel: To return to the Home screen, select the From the Designer Screen: To return to the Home screen, select the Home icon in the upper left-hand corner of the Designer screen. All changes selected for your product up to that point will be automatically saved. |